Testing the 3D printer


The 3D printer we have at the lab is a ditopro


and I often use it. I use cura to prep and slice my print and I was already used to this technology so I figured this week was gonna be an easy one! To test the capacity of our printer me and Mathieu print some benchmark boat found on Thingiverse


Everything went well, I didn't have time to benchmark the printer much more since we only have two of them and use it for the public and client. We normally fill our model at a 15% density and use a raft or brim only when necessary, also we use a layer height of .20mm and a shell thickness of 0.7mm since it's a good bargain between time and quality. This brings me to one of complaint I have with the process of 3D printing, It's a fine machine and it's cool to be able to prototype semi-complex stuff on the go, but It's still a machine that I struggle to love.

Making a print take so much time and the quality of the print depends on a lot of factor, just the air temperature can mess you up! I think that the machine is great if you just want to brind your model rapidly to life, but it's often quite not enouph if you need a super precise model. Precision is often the key when making stuff and the 3D printer can sometimes fail you on that part. Download files

« Go back to assigments page

Design the part


The assigment was to design and print a Model that couldn't be done subtractively. So I open Autodesk Fusion and design a Vase with a nice patern inside of it. I must say I was greatly inspired from what Mathieu did.

1st step:


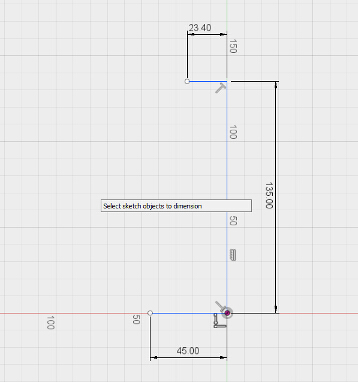
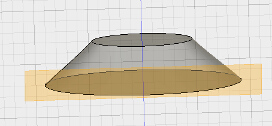
First I created a new sketch made of only 3 lines and set their dimensions:


2st step:


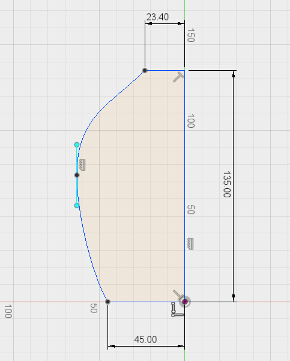
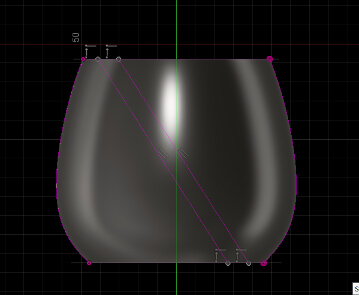
Then I made a fourth line using the spline function:


3st step:


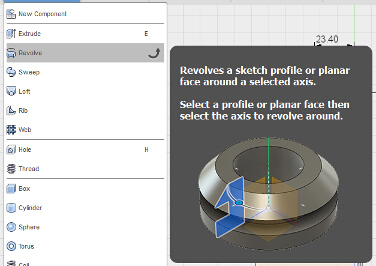
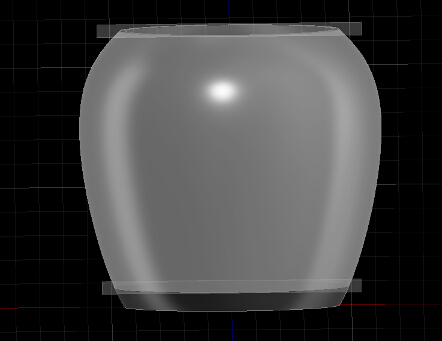
The I just had to use the revolution function to pass from a skect to a part.


4st step:


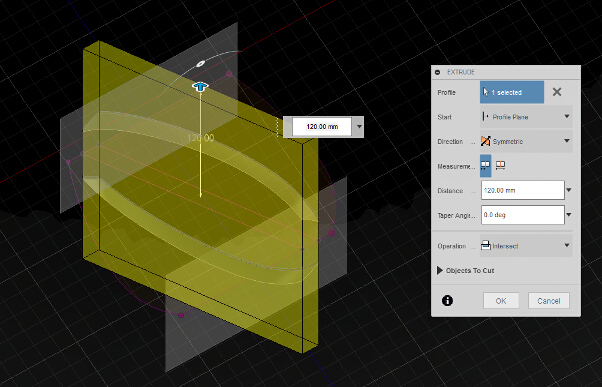
Now I had to divide my part in 3 bodies so I could keep the upper and down bodies intact while I applied my patern to my middle part. For that, I create a construction plane and set it where I wanted to divide my part, then I use the split bodies function.
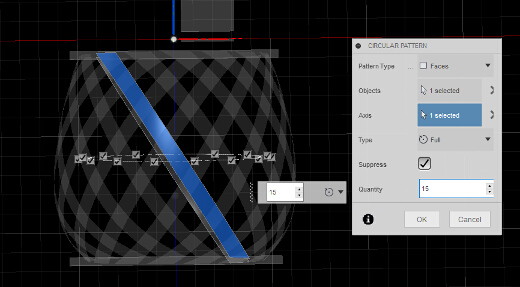


5st step:


To create the pattern I used the project function for the sketch and then the circular patern to multiply the sketch 360 around the model. I dit it twice, once for each side of the two curve.
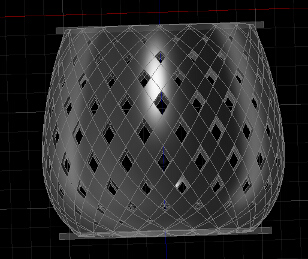
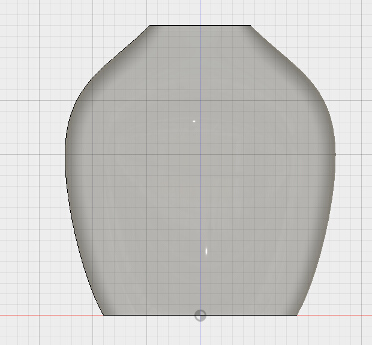
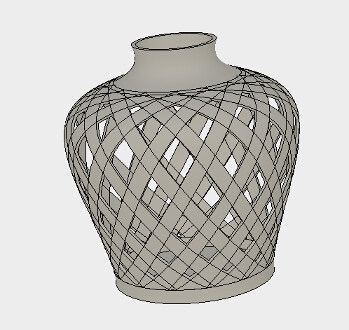


And here it is!


Fusion 360 being a cloud service, saves are stored in the cloud. Bizzarely, my file got lost and I try speaking with a Fusion technician, and he could'nt retrieve my file, he explained that i may have work on the design while being offline and the save got lost.....

Hope this will still be able to pass the evaluation...

« Go back to assigments page

Printing the part


To print the part I first export my cad as an stl ready for Cura


I got rid of the brim but had to put support wich made the print time a lot longer....

To start the print, I only had to save the Gcode on a SD card and put it inside the printer, apply the lack and start the print!


Here's how the print looks:


The reason why this object could not have been made subtractively is because such a small object with those amount of detail and joints would take some serious multi-axes machining for it's production to be possible...and then i'm not even sure it would work. The model find it's complexity in the holes that fill the model.

After using for a while the 3d printer, I list some advantage and disadvantage of using a Printer.

Advantage:

Cheap production cost
Rapid prototyping
Use of multiple material such as nylon, PLA, ABS, etc..
possibility of doing organic shape and complex objects such as object inside objects (bearings, etc..) using additive production method.

Disadvantage:

Lack of precision (even more on smaller model)
Complexity of designing parts (CAD softwares)
Boring to look at (personal opinion)
Sometime Tedious to print correctly

« Go back to assigments page

Playing with the 3D scan


I was really exited to try our brand new 3D scan, We bought the one that was recommended for the fabacademy, the sense scan v2.


Before that I was using a hack kinect that Raph made. It was super easy to set-up the scan, pretty much plug and play. Once set-up I tried to scan a few object but was kind of not satisfied entirely with the results.

After a bit of testing, me and Mathieu Got pretty good using the scan.


We found that it was going well when we were putting and object on the floor and keep it steady while we were turning around him to scan it.


Using the scan was super fun and we can see that it does the job pretty well for medium object and for scanning people, the machine is not perfect tough, and we could'nt get any good result on smaller object, we could expirement more on what the machine can and can't do, but it seems to have a lot of limitation on the precision of the model it outputs, still really cool tough! After using for a while the 3d printer, I list some advantage and disadvantage of using the 3D scanner

Advantage:

Fun!
Rapid visualisation of reallife object into cad programs
models can be modified using cad softwares.

Disadvantage:

Big lack of precision (even more on smaller model)
Tedious to handle the scan, loosing tracking and such...
Model came out Final and can be hard to modify

« Go back to assigments page